A few days ago I posted a story about a man named Kai who built his own windows for his tiny house. Kai lives in Germany and has discovered that many of the building materials we take for granted in the US aren’t always available in Germany. The windows specified in the Tumbleweed WeeBee house plans were difficult to find. Kai found an expert craftsman in the United Kingdom who could build them but after receiving the quote (equivalent of $5,500 US) Kai decided to build them himself. He shared with me how he did it; as you can see by the photos the results were impressive.
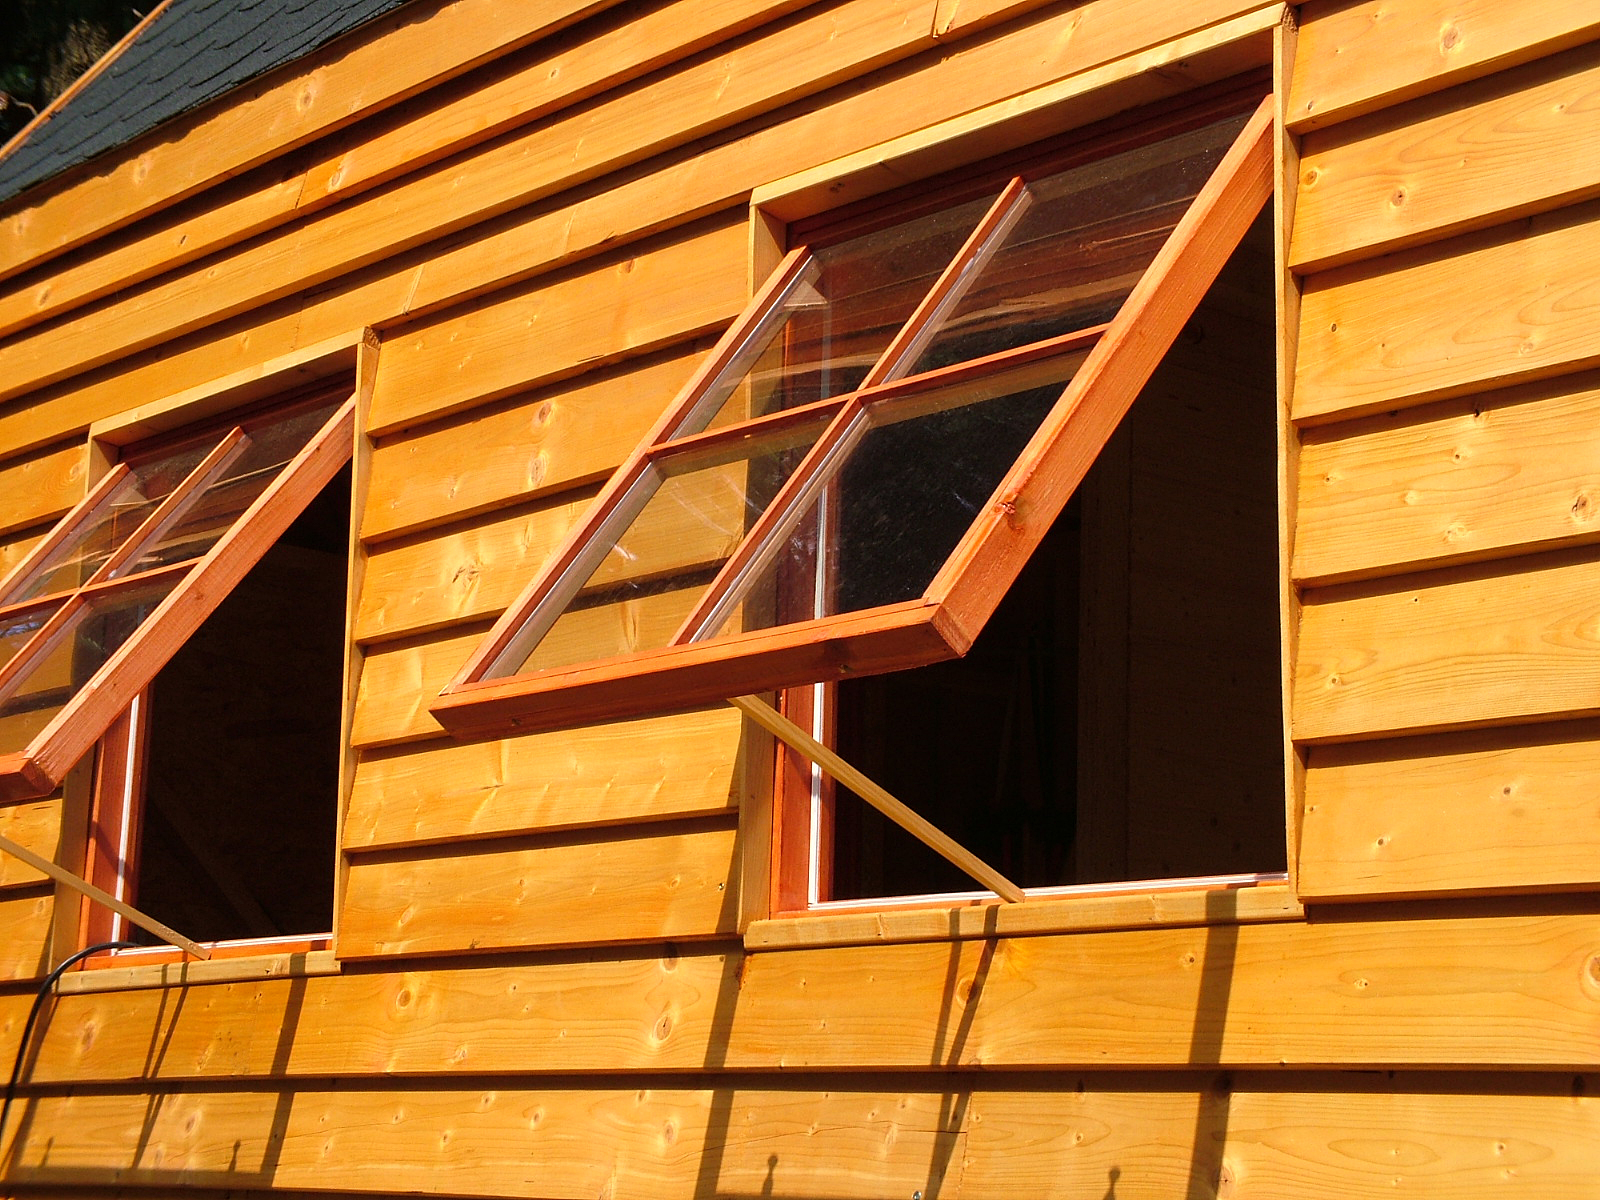
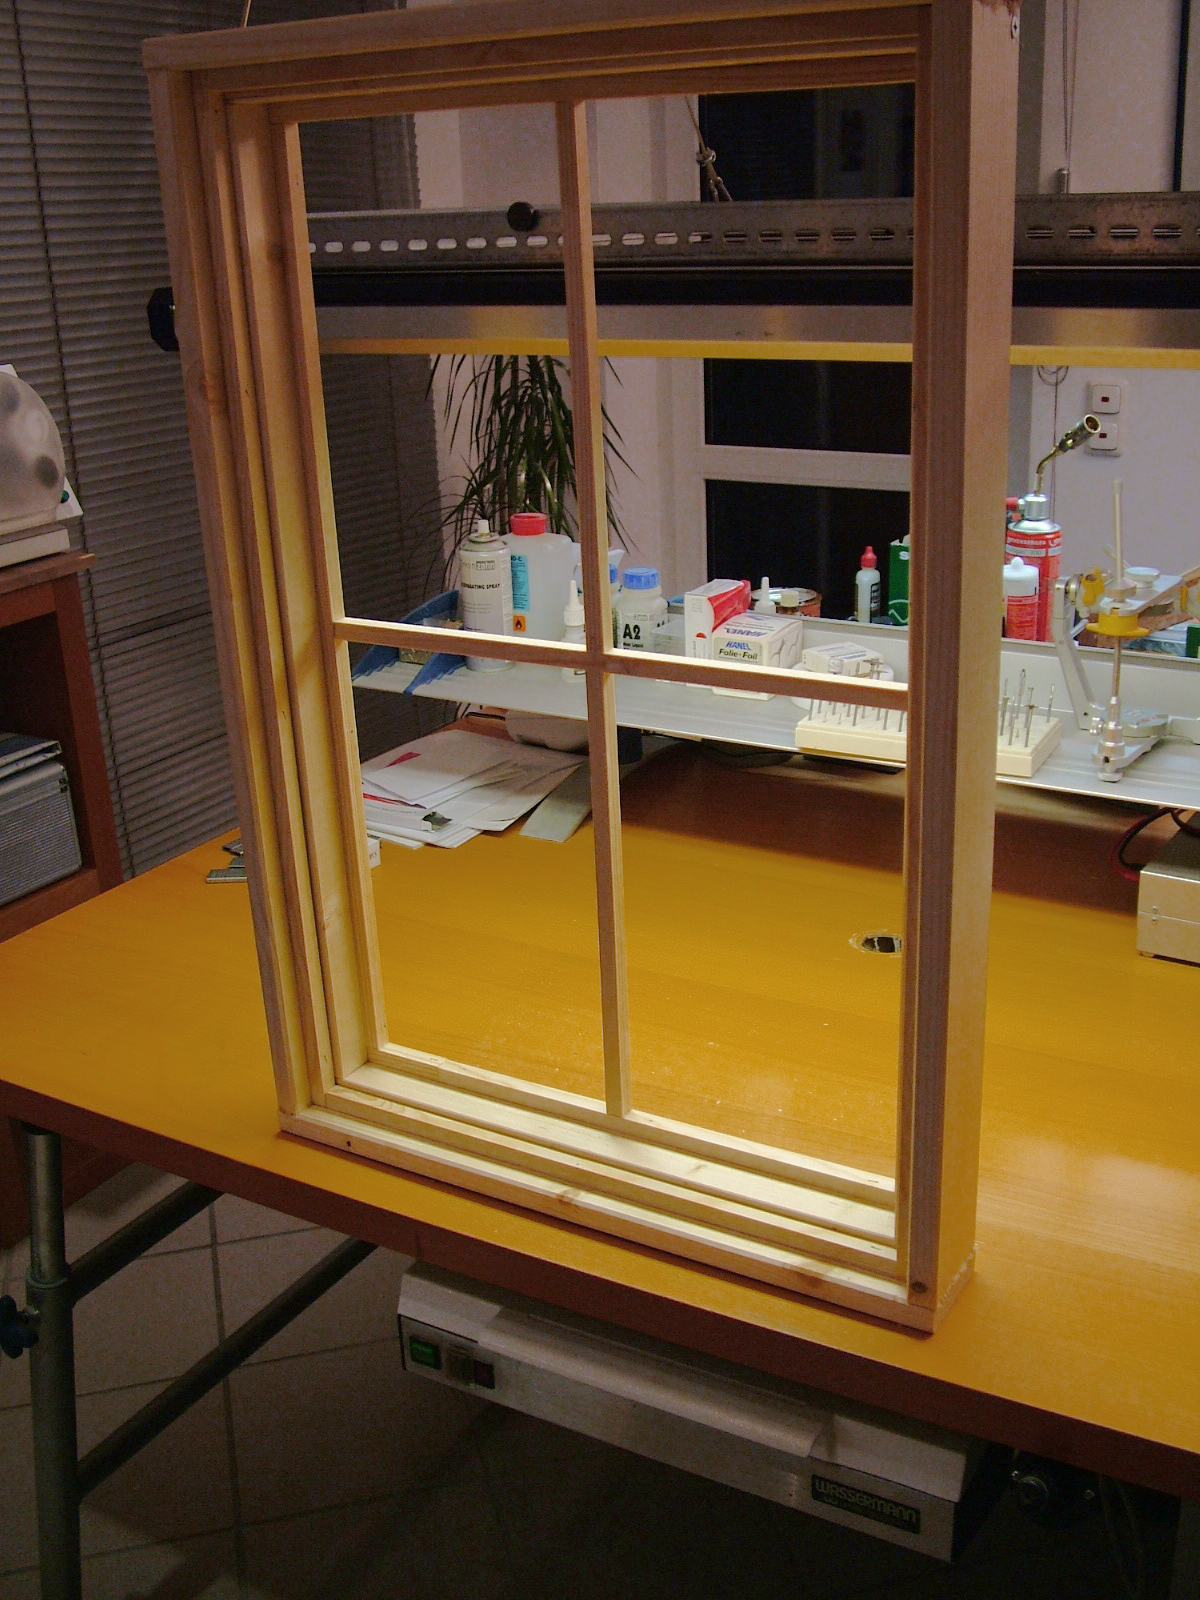
He began by building the wood frames. One of his inspirations was a traditional box sash window manufacturer in the UK called Sash Restoration Company. Kai chose to build his windows a little simpler but in a similar style. Some were fixed and others opened like hopper windows. It took him 4 days and the equivalent of $540 US in materials to build all seven windows and door.
He used pressure treated spruce, which is also the same wood used in the foundation and framing, for the windows. Large bar clamps, a drill, and screw drivers were used to assemble the frames. Rough cuts were made with a circular saw. Finer cuts were made with a ruler guided jigsaw. The most precise cuts were made with a circular sander exactly like the type you’d find in a dental laboratory. Kai is a dental technician with his own business so he used what he had access to and was most familiar with. He also used some small 90° clamps and a tiny pneumatic stapler for assembly.
Another interesting thing to note was that he didn’t use a plan. Most of the detailed design work happened while working with the wood. The Tumbleweed tiny house plans were also more useful as a guide for the windows. Kai had to figure out most of the specific details on his own including converting all the measurements to metric.
Kai confessed that he is not an expert woodworker but I think his success proves that a project like this is within reach of a determined owner-builder. He also reports that roofing the house was more difficult than making the windows.
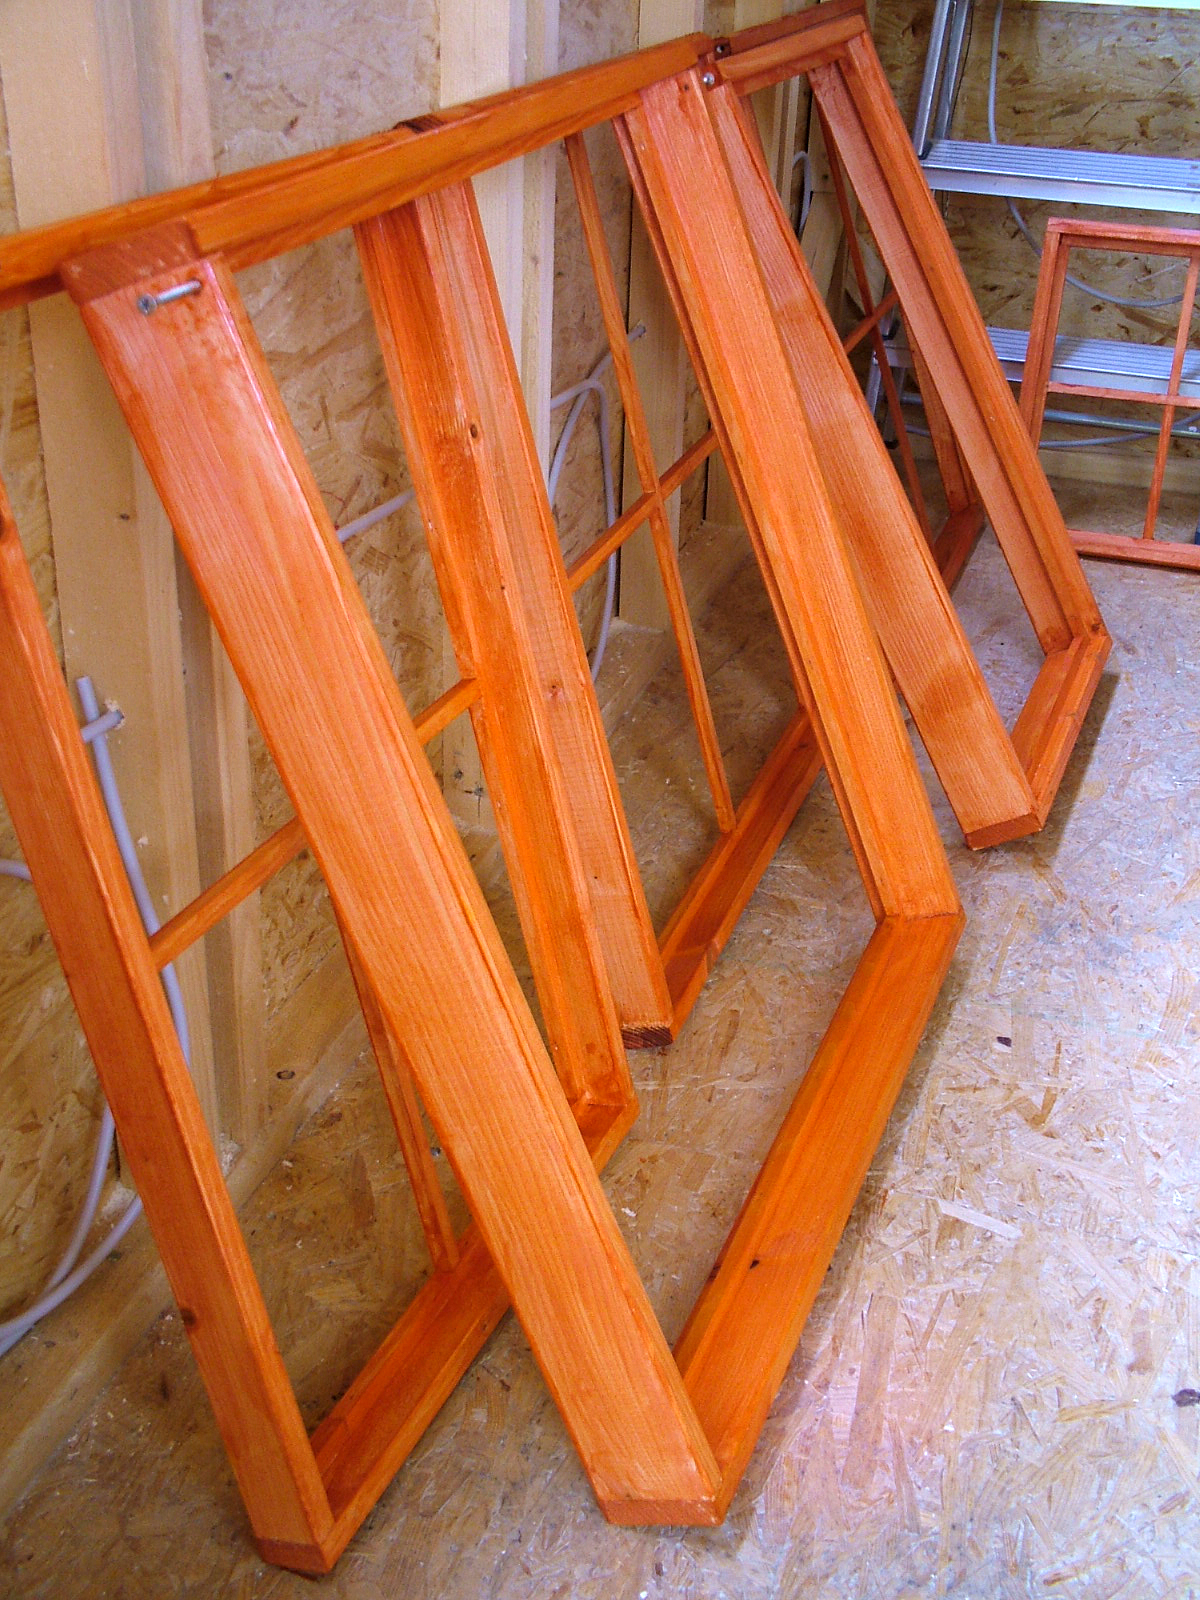
After the woodwork was complete Kai coated the wood in a waterproof lacquer. When the finish was completely dry he set the glass in the frames. This required several steps including double glazing the glass in place. First the cut glass was laid into the frame with a transparent two-part silicone. He also reports that a mixture of linseed oil and slaked lime also works well as a glue if you want to build with a greener material than silicone.
After the silicone had set up a little he glued on an E-profile rubber spacer and then on top of that the second piece of glass. You can see the white rubber spacer in the photo below. After the second piece of glass was in place another set of glazing bars were gently glued and nailed in place.
Commercial double glazed windows are usually sealed with a desiccant filled aluminum bar. The desiccant absorbs the moisture that eventually works its way between the pieces of glass. Over time the seals in all double glazed windows break down and trap moisture. The insulating ability isn’t really effected but the windows fog up making them less useful as windows.
Kai did look into aluminum spacer bars but ended up using the rubber spacer. He reports that they are working fine so far but is watching them carefully to see how they hold up. If they break down he could eventually upgrade the glass in his windows.
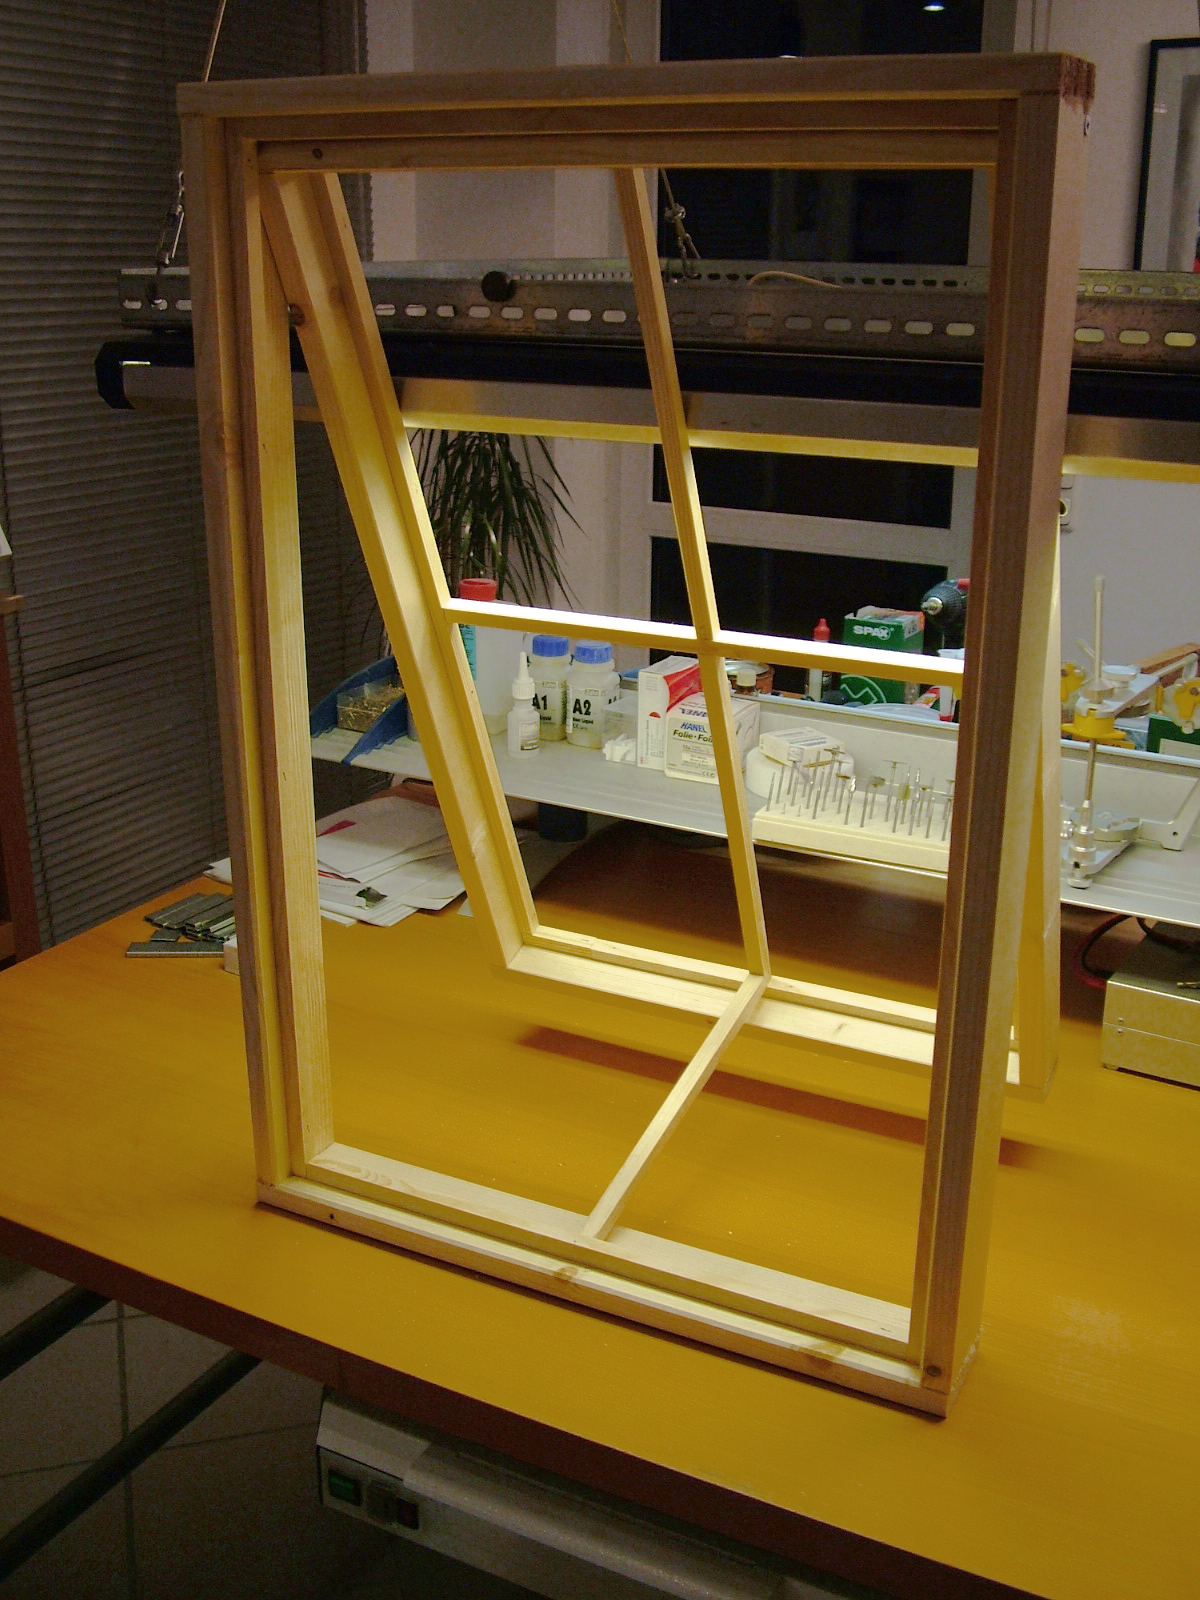
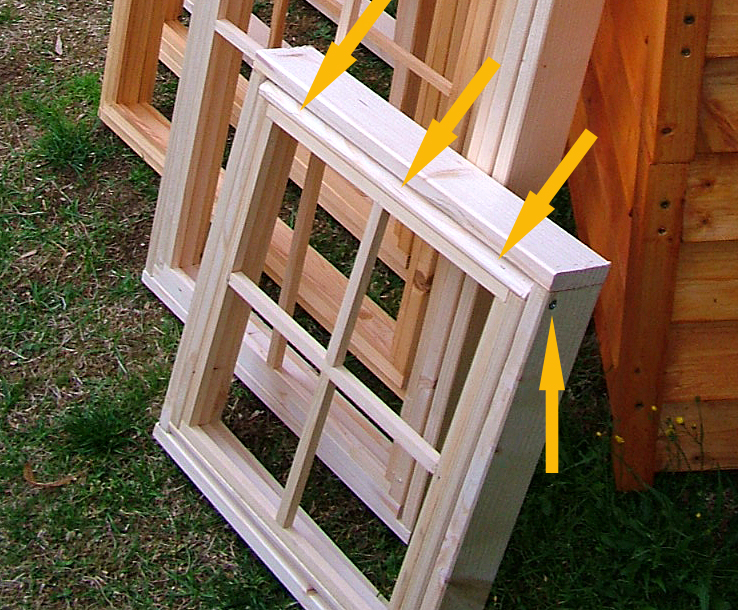
The operable windows were made in the same way except that the inner frame was attached with some special screws that allow them to pivot out. Kai used screws from a company called Spax. These long screws are threaded at the tip and have more of an axle near the head allowing the window to swing out. You’ll also notice some arrows in the photo below that point to the pivot screw and bevel in the wood that allows the window to open.
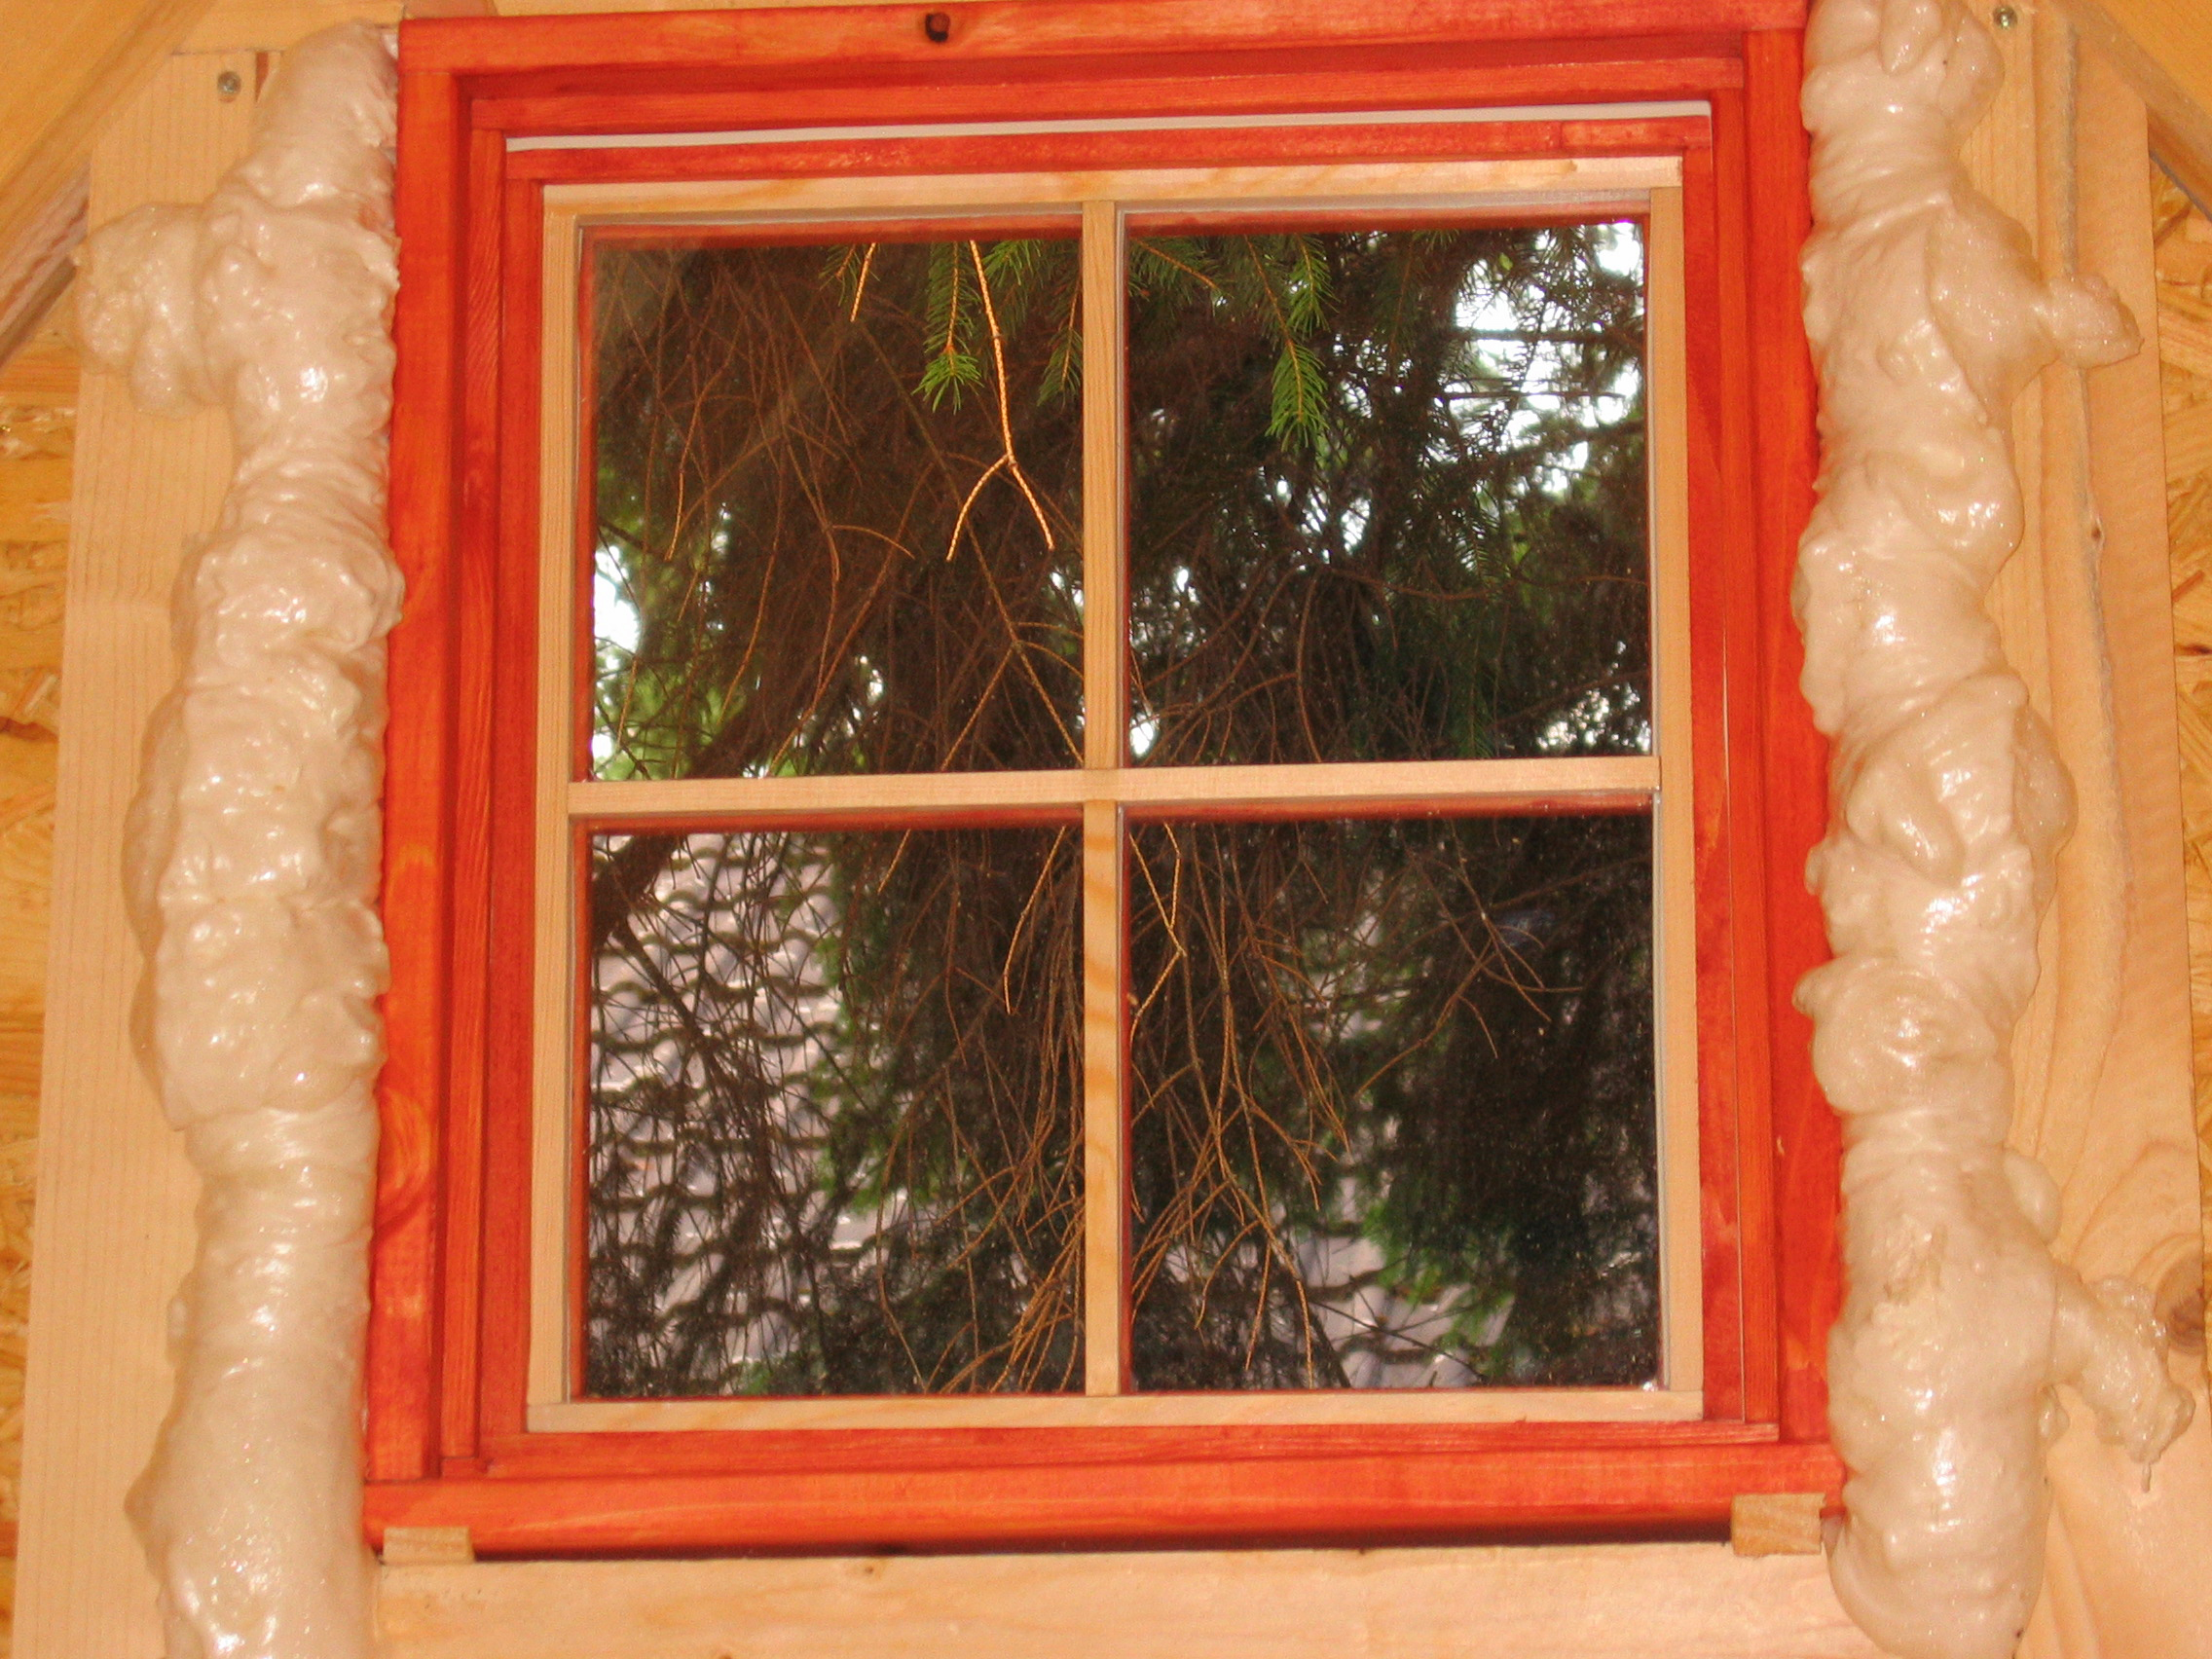
After the windows were complete, installation was just a matter of placing them in the rough openings, leveling, and sealing the gaps. He chose to use expandable foam but advises us to be sure to close the operable windows before spraying the foam. Leaving the window closed while spraying helps push back against the force of the expanding foam.
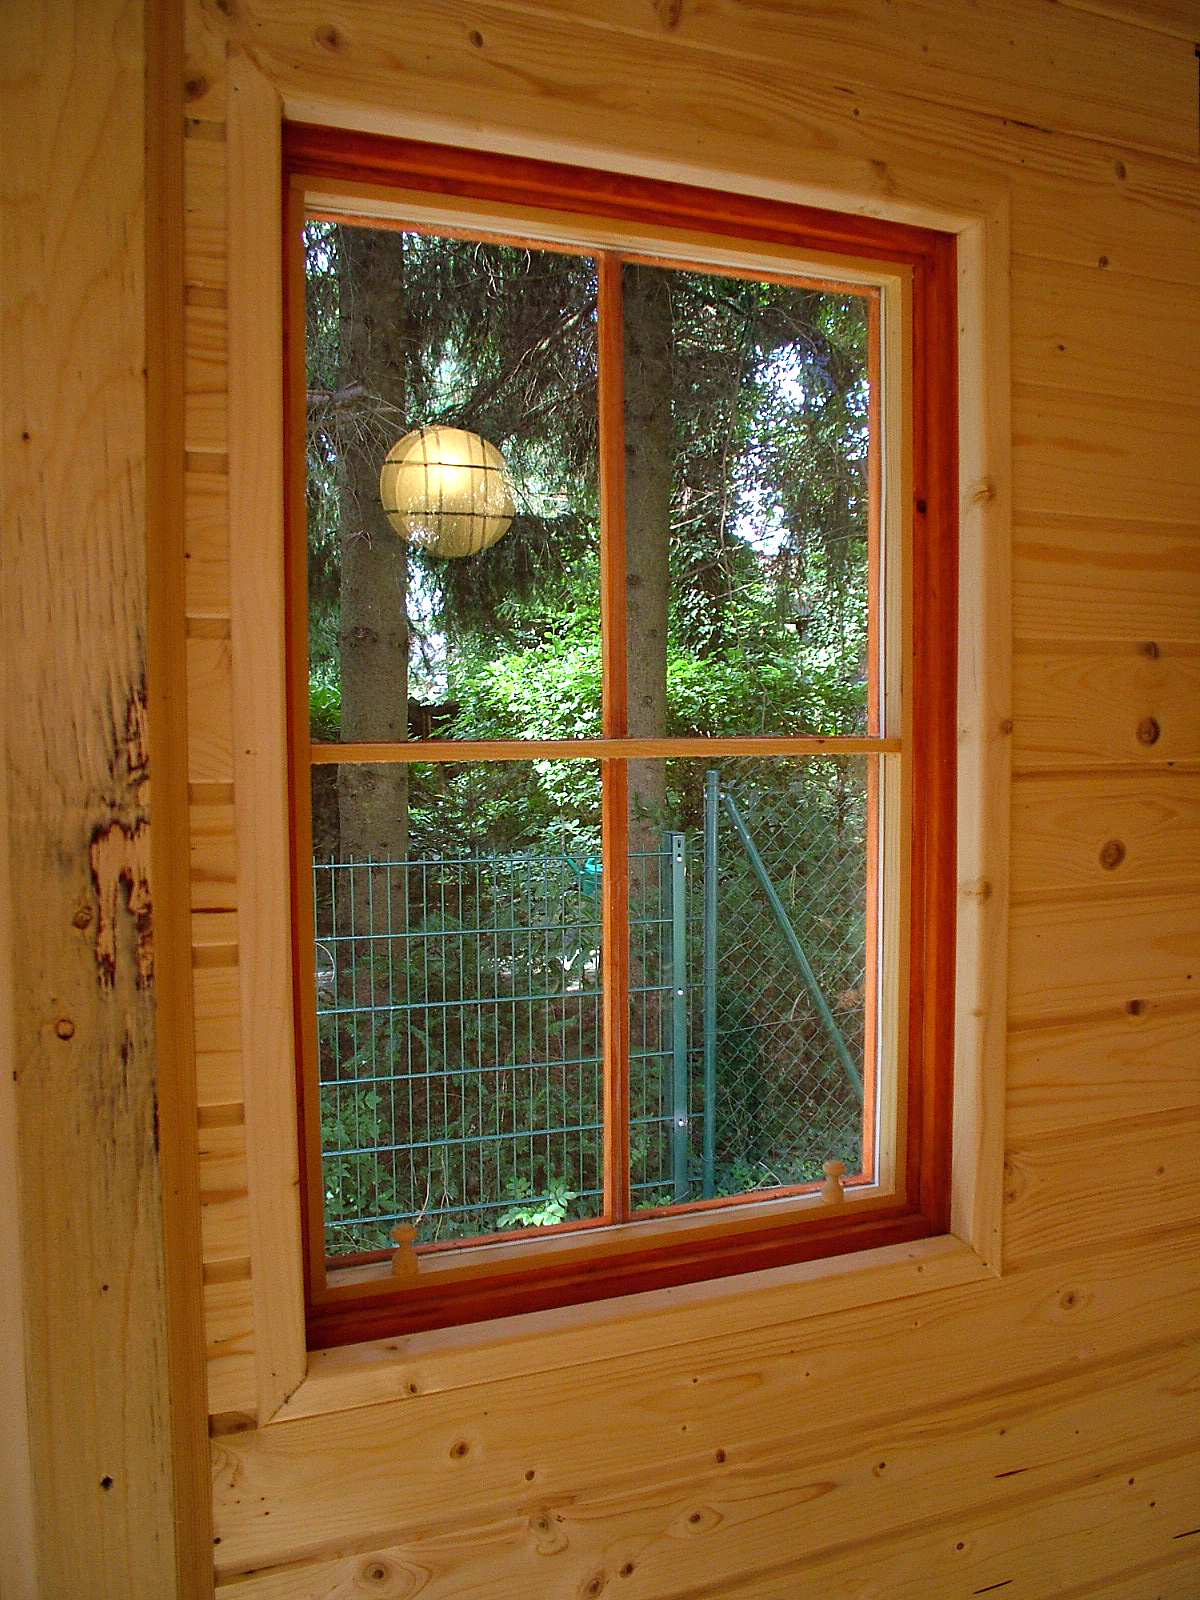
The final result is really stunning especially when you consider the cost and time it took to make them. There are only three issues I’m aware of with handmade windows like these:
- The double glazing will probably fail sooner than a commercial window.
- The insulation value of a handmade window might be lower than a commercial window.
- The wood frames might warp and weather quicker simply because they were not professionally engineered to resist harsh weather and sun.
The Tumbleweed Houses website provides some construction cost estimates. They say the WeeBee’s windows will cost about $3,300. Kai got away with sweat equity and $540. I’m also certain you could spend a lot more than $3,300 too by buying top of the line windows. But after seeing Kai’s results I personally believe that building handmade inexpensive windows is a real option for the clever and frugal owner-builder. With careful construction, sealing, and finish I suspect they would last for years.
Great work Kai! Thank you so much for sharing what you’ve learned with us. I’m certain it will inspire others to build their own windows and even save money.
You can read more about this tiny house at TinyHouseBlog.com.
Kai has also posted some detailed construction photos.
Be sure to visit Tumbleweed Tiny House Company for house plans, tiny house books, and workshops. Kai build a Tumbleweed WeeBee.


very nicely done, especially for someone with limited woodworking experience. He must have a lot of patience.
These are awesome! The only thing that he couldn’t do was the gas between panes. I doubt he’ll miss that.
I hope we can get an update on how well these hold up as they age.
wow, those are stunning. All that love and all that beautiful wood. they give me goosebumps!
I’m running into a problem finding decorative windows for the gables. The more unusual the better. Gothic? Round? Whatever. I may need to make them myself. Cost is surely a consideration as is functionality. Any ideas?
As for DIY enthusiast, the final result is stunning. I see a talent here – he should really consider doing this as a full time job, rather than just a hobby.
Nice windows. Can’t see paying $300+ for a lousy window. Stuff like that can double the cost of a small DIY house.
Those aren’t hopper style windows, though. Hopper windows open at the top. Those are awning style windows.
What I really like about the windows was the reddish color. Possible to contact Kai, and find out what stain was used, if any? (don’t think PT Spruce has that color naturally). thx
Like the can do attitude, but others, should they attempt to build their own windows, should spare themselves some grief and order already thermal-ed dbl. pane insulated glass units from a glass shop, and shop around for a price, it can be quite reasonable. I have built a lot of windows and doors since the early 70’s and properly built thermal glass units with gas are the only way to go. Be sure to size your windows and frames for thermal expansion. The bigger the window the more clearance you will need. To tight and you can break the thermal bond or window.
Great article with great results! Nicely made windows. Thanks for sharing.