Uncut Tiny House Improved
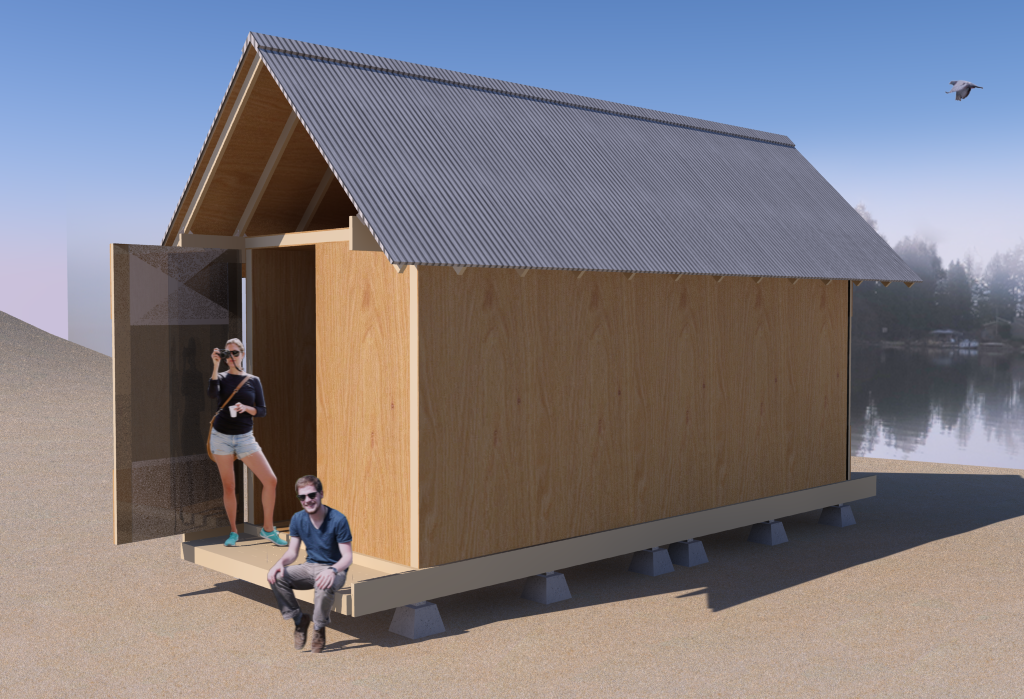
The other day I posed the riddle… can a tiny house be built without a saw and off-the-shelf materials? That’s the goal of this design exercise. In my first pass at solving this challenge there were a few things that didn’t quite work so well, so I went back to the drawing board.
- I made the roof a bit taller so that the rafter overlap at the top was stronger. I also added H1 hurricane ties.
- I removed the 4×4 posts on the sides and reduced the amount of wood used.
- I changed the foundation to 4x6s on concrete piers.
- I added some windows on the side and there’s still a door on each end.
- I also made it longer, now 20 feet.
I imagine that the floor, wall, and ceiling panels would be partially built before putting into place – then finished by insulating and attaching the exterior plywood siding. You can see those steps illustrated below. This approach would also make it easier to add electrical, plumbing, and exterior house wrap before attaching the exterior sheathing/siding.
The partially built panels would also be lighter and easier to handle for one person, giving the owner-builer the opportunity to use fasteners to help secure the panels in place. The disadvantage would only be that the exterior siding would need to be lifted into place and fastened once the walls were wired, plumbed, insulated and wrapped.
I’ll put all the details, materials list, and step-by-step instructions in the plans – should be available soon.
In the mean time – those of you playing with SketchUp might enjoy a peek at the Uncut Tiny House SketchUp file. Be sure to review the scenes first, it will give you a quick look at the building process.
Above: 4x6s on piers and floor supporting lumber.
Above: Floor panels fastened.
Above: Insulation foam panels glued into panels.
Above: Floor decking fastened to floor panels.
Above: Wall panels fastened in place.
Above: Ceiling panels fastened to the top of walls. This would be a good moment to add electric and plumbing.
(Note: the exterior ‘trim’ lumber will tie the walls and ceiling panels together. Don’t panic.)
Above: Walls with glued in foam panels and plexiglass windows. This would be a good moment to wrap it with house wrap.
Above: Walls sheathed.
Above: Ceiling insulated.
Above: Ceiling panels sheathed.
Above: Panels and framing all tied together with an exo-skelaton of wood. If you wanted a flat roof you’d nearly be done. If not continue with the pitched roof.
Above: Roof framing with H1 hurricane ties. Gable rafters have 2’x4′ plywood sandwiched between them to help support the foam board that will be cut to complete the wall.
Above: Gables completed.
Above: Roof sheathed.
Above: Roofing added.
Above: Deck porch added.
Above: Doors added. Now your work would turn inside or to applying a finish to the exterior.

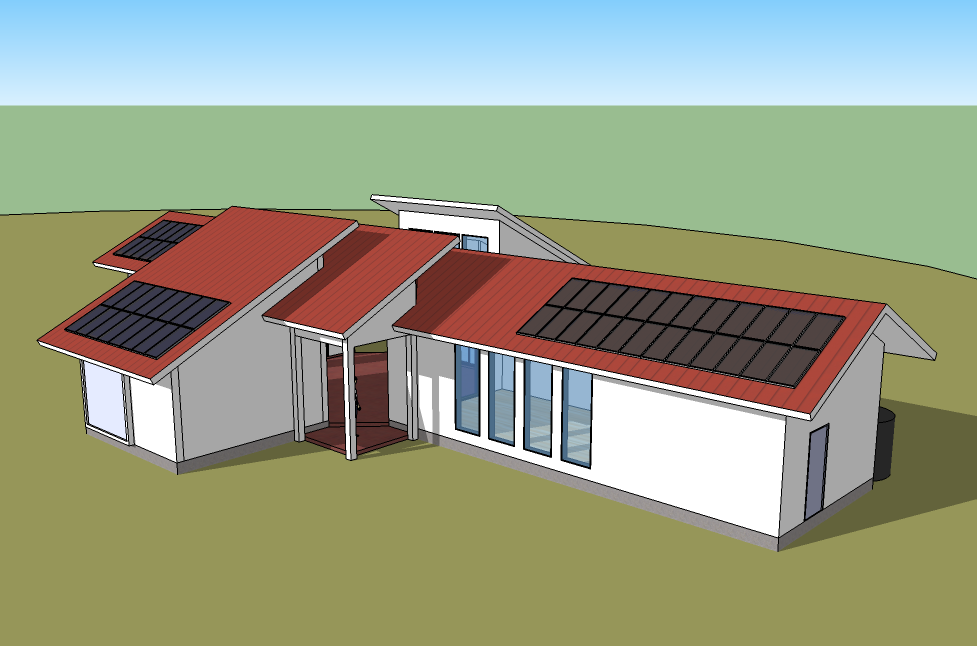

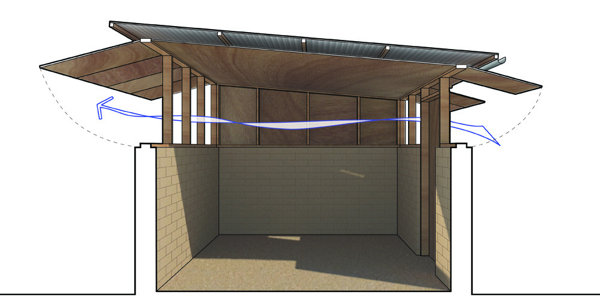
Michael, this is really really fascinating! These renderings are remarkable in their own right! I think this would be really fun to build, not to mention a pleasure. There are some days I spend with ear plugs in my ears for 8 hours, sometimes its nice, other times not so much. I think it would be a pleasure to work without all the cutting etc.
I feel the same way. I suspect it would feel more like assembling a model than building a house.
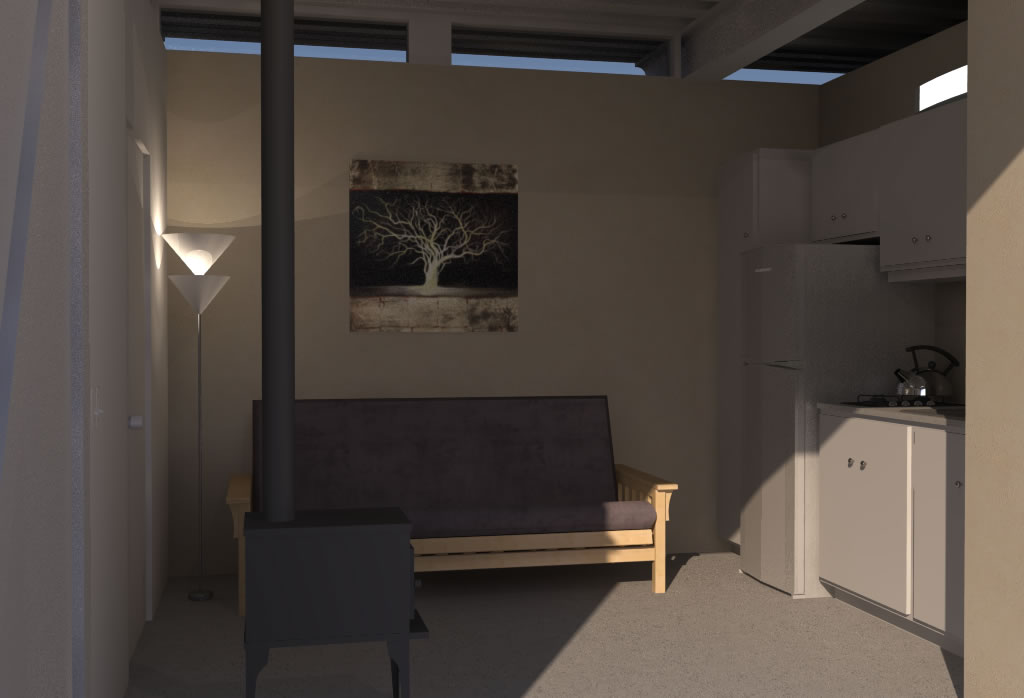
Show the inside! You have pics showing the outside, why cant you get pics of the inside? It would be nice to see. Thank you.
I added a couple interior images. I have more with furniture I’ll post in a couple days with the next update.
I think you just made my tiny sauna project a lot easier. Not sure of the overall dimensions yet but the sauna itself will be about half the length and the change room the other half. Eliminating all the fuss and bother of extra cuts makes the project much more appealing.
Thanks Alice. I think you just touched on the real value of this whole exercise too… which is simply design around the material and cut less. Doing so would make any project go faster with less waste.
Alice, I’m not sure of your building experience, but this is an exercise in design challenges, not on meeting safety requirements. There is a high likelihood that with heavy wind and rain, or light snow and rain that this building would collapse from the loads on the roof. As this is an exercise in trying to not cut lumber and just simple design, don’t consider this safe for habitation. I have built some flimsy structures in my day, but this design calls for floor and wall joints built with 2×4’s(?) at 24″ on center over unsupported 8′ spans. in regards to building this as a sauna, please consult with an engineer, architect, or contractor about building. I’m not sure if your sauna would hold a tub or even a hot tub in your mind. Yet, with the rating on 1/2 inch plywood with 2×4’s at 24″ on center, you can hold about 200lb/sq ft. A tub with a person in it would be about 375 to 400lb per square foot, a hot tub could be 800lb’s depending on the tub. IOW, you’d break through the floor, possibly bringing the whole building down on you. Lots of people see tiny home’s built on trailers with 24″ on center spacing in the floors. There however, most don’t have full tubs, and one things being overlooked there is the strength of the trailer framing itself. Be careful, be smart, and if you aren’t, contact an experienced builder. And even if you end up not listening to them, it is always worth an informal code enforcement official. I’ve been known to contact that one’s around my town(not in my town) to get answers when I question the reasoning for a code. Sometimes it’s overkill, other times it’s to prevent one from putting themselves in the “underbuilt kill” zone of not knowing how dangerous something could be.
I’ve built many a shed that’s flimsier than this and they’ve all withstood many winters. While I do believe the building code is overkill I’m also willing to go over the code in many cases. However the building code is written with large habitable structures in mind. When you build a smaller structure such as this there are a lot less panel hinges and framing member laps (such as the collar ties). Reduction of those hinges and laps results in an overall stronger structure.
But if the sauna were to include a tub in addition to the benches and hot rocks, yes it should be reinforced. Better to place it on a slab just outside the door so you can see the stars from it.
Brian
It’s an interesting concept but one gotcha is the lumber length. Can you get lumber that is exactly 8′ in length? At least around here, most lumber is 1/2 to 3/4 inches longer than the nominal length, so 8′ lumber won’t quite match the length of the plywood.
You could use precut studs, which are 92-5/8″. With a 2×4 bottom plate and 2×4 plus 1×4 top plates, you’d be close at 96-3/8. You’d also be building more conventionally and wouldn’t have to rely on the trim boards to tie things together.
I would not depend on just the H1’s to keep the rafters from spreading. They are only rated for a 115 lb load in that direction (http://www.strongtie.com/products/cfs/s_h-h.asp). You’d exceed that with just 30 lb/sq ft of roof load, and that includes the weight of the roof itself, so maybe 15 lb/sq ft of snow would push them to the limit. One solution is to get rid of the top layer of ply and lower the rafters so they can be side-nailed to the ceiling joists. If you want to keep the ply then maybe side-nail a 8′ 2×4 across the bottom ends of each rafter pair.
Frank
Excellent points and suggestions.
I’ve not seen too much lumber that far off their lengths in these parts – but I think even with those inconsistencies the boards would be workable and let run wild a little bit here and there.
Love the idea of using studs and the roof attachment ideas. The pitched roof is a struggle. A flat roof would be easy – but boring. 🙂
@Frank I think the hurricane clips are only holding the rafters to the wall. The 2x4s on the ceiling are acting as the collar ties at plate line to prevent spreading.
As evidenced by my 1957 stick built house those H1 clips aren’t even necessary in this case. But they’re a good idea.
Brian
You rock, Michael.
Liked, Echoed, Shared, Re-Blogged, blah, blah, blah…
You know where…
Keep doing what you’re doing. It makes a difference.
Thanks!
With your design, it is possible to modify wall and roof into a foldable tiny house.
That would definitely take it to the next level! 🙂
I think the main issues would be the hinges and making the house as air tight as possible. Not sure is combining the uncut challenge with a folding challenge would work well – but I like the idea of experimenting with a folding house too.
Would the floor bear significant load over time? It doesn’t look like there is enough support, either mechanical or mass, to resist long term twisting stresses.
According to StruCalc it is adequate by 18% with 0.1″ deflection. That’s for a single 5′ span. Given that a solid beam is traversing three load points there will be even less deflection as both spans counter each other. This is given that the roof load is 25/15. If your snow load is greater then you may want to upgrade. But considering that there is a 2×12 attached to the 4×6 you could calculate it as a 6×6 (or 3-2×6 if you prefer). In that case the loading is only improved.
Brian
What is being expressed as “exoskeleton” is just finishing from the inside out instead of the usual way. No problem if no utilities are to be incorporated into the structure and hid in walls.
Is this an actual small building or just a lot of computer drawings ?
Are saws evil ?
Computer drawing using SketchUp and the more photorealistic images are rendered with Podium.
By exoskeleton I mean 2x material fastened to the exterior panels to added structural strength, specifically on the end walls. Otherwise the approach shown here would rely too much on the fasteners (nails/screws) – IMHO.
Michael this is great. I have three comments. First I would prefer that the gable ends were completely sheathed with plywood. I understand the concept of uncut but since you are already using some 4×4 or 2×4 plywood panels (which can be bought at BigBox) surely a single 45° cut would be acceptable. Maybe even have them do it there when you pick up your plywood.
Second, I think it would be advantageous to access the attic by removing one of the 4×8 ceiling panels. Use it for storage, sleeping, etc.
Finally, how are you dimensioning your lumber? I’m sure you’re aware that a 2×4 is actually 1.5×3.5″. Most other lumber follows suit. Gratuitous blog post linked:
http://istockhouseplans.blogspot.com/2011/09/lumber-sizes.html
Brian
Thanks Brian.
You partially read my mind – the third and ‘final’ version includes the loft opening and a better gable end.
Thanks for the link to the chart. Yes I’ve got them memorized. I don’t have roof pitches memorized… do you have a chart for that? 🙂
Thanks!
Done. 🙂 Not sure which data you want exactly. Let me know what’s missing and I’ll add it.
http://istockhouseplans.blogspot.com/2013/08/and-heres-first-pitch.html
Brian
I think that your double pier pads at the mid points of your floor system girders can be replaced with single pier pads. I have done that myself in constructing a couple of small buildings. The metal saddle that the beams sit in have enough bearing surface or length to support two beams that abut each other in the mid point of the saddle.