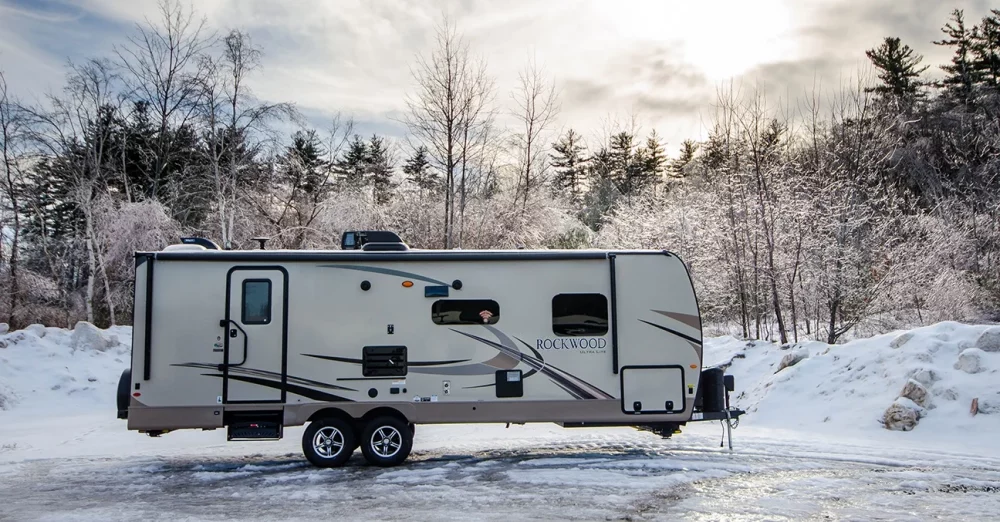
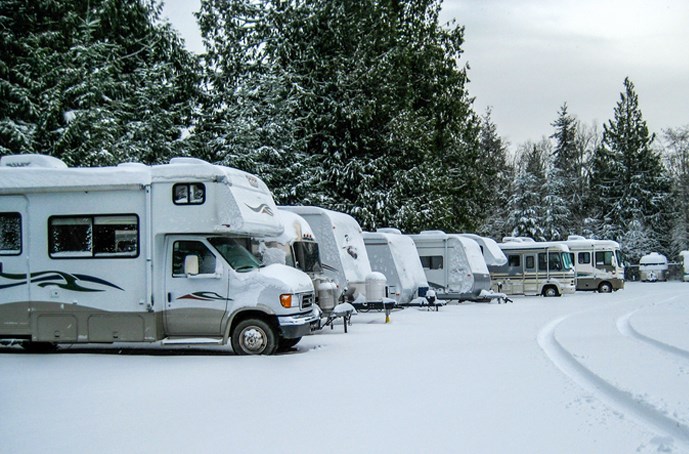
Why is it Important to Winterize your RV?
“Winterizing” a camper is important for several reasons:
- When water freezes, it expands with great force and can easily rupture or break pipes, connectors, and valves in the camper.
- The expansion of water in holding tanks can crack the tank.
- It is also important to protect an RV battery from freezing.
- Finally, it may become the winter home for a family of rodents and roaches.

Contents
The only real option to not winterizing an RV is to store it in a heated barn or garage.
There are two options for winterizing: (1) have your local RV dealer or service shop winterize it for you. This will usually cost between $75 and $150. You should be able to “do it yourself” for about $40 in two hours—even less time when you know exactly what to do.
Note: Most campers include an owner’s manual that includes winterization instructions.
When to “Winterize” Your RV?
A camper MAY escape unharmed if expose to only one or two days of temperatures between 32° and 30° Fahrenheit. There are some parts of your water system—such as toilet flush valves—that are not as robust as other plumbing and can freeze and crack with even brief exposure to below-freezing temperature.
Consequently, the camper should be winterized before the earliest threat of freezing temperatures. This, of course, will depend where in the country you live. For planning purposes, check here to determine the average “first freeze” or frost date in your area.
Before you Begin
Note: There two methods you can use to winterize the water system in your RV. Decide which method you are going to use so that you will have the right equipment and proper amount of anti-freeze available.
Method 1 is the “Replacement” method that simply requires pouring anti-freeze into the system. This will require 6-8 gallons of anti-freeze to ensure the system is protected.
Method 2 is “Pressurized Replacement” method that uses air pressure to clear water from the lines and to distribute the anti-freeze through the system. This method requires 2 – 3 gallons of antifreeze.
Before you begin, review your camper manual for any specific directions on winterization of the water system.
Do I Have to Use Antifreeze?
No. If you thoroughly remove all water from the RV’s system, you do not have to use the anti-freeze. With no water in the system, there is nothing to freeze. However, the advantage of using anti-freeze is that it not only protects from freezing but it prevents gaskets and seals from drying and cracking.
What You Need to Winterize Your Camper with Anti-freeze
- Antifreeze: Use non-toxic propylene glycol antifreeze, available at RV shops and some marine stores (cost $5.00 to $9.00 per gallon). The antifreeze is not flammable and will not damage your RV’s plumbing system. Do NOT use regular automotive anti-freeze
This antifreeze also works as a lubricant, and it will help extend the life of the seals in your toilets and faucets. For this reason, propylene glycol antifreeze is the best antifreeze to use for RV winterization.
- Wastewater Drain Hose: this is the large drain hose you use to hookup at campgrounds or dump stations.
- The Water Heater Bypass Kit: it prevents anti-freeze from entering the hot water tank.
- The Water Pump Converter Kit: it enables you to fill the system with anti-freeze.
- The Compressed Air Adapter or “blowout plug”: needed to attach the filler connection where you connect the freshwater hose.
- Rubber Gloves recommended.
- Household Cleaning Solution (to clean exterior connections, etc.).
- Rag or Cloth to clean up with.
- Anti-Rodent Foam Sealant
- Ant and Roach Traps
- A small (3-gallon) Air Compressor readily available at most big-box stores and hardware stores.
While not essential, winterizing should go more quickly with a partner to assist.
Before You Begin
- Review the winterization instructions in your camper’s Owner’s Manual.
- Remove or bypass any inline water filters (Note: antifreeze can damage or ruin water filters).
- Drain and flush all—black-, grey-, and fresh-water—holding tanks and water pipes. Refer to the camper manual if needed.
- Properly dispose of all wastewater tank contents
- Rinse or flush the wastewater tanks with fresh water
- Open all faucets (all sinks, tub, and shower) and flush the toilet several times.
- Drain all water from the hot water heater tank.
How To Winterize Your RV with Antifreeze
Step 1. Preparation
- Attach the “blowout plug” to the water intake fitting.
- Attach the air compressor to the blowout plug. Allow the compressor to build up pressure to force any remaining water out of the system. [Note: this is not essential but makes anti-freeze more effective.]
Note: If you do not have a compressor on hand, you can get a three-gallon compressor at almost any big-box or hardware store. These are small units that you can easily carry in the camper or your tow vehicle and may also come in handy to add air to a low tire or inflate beach toys.
- Close all drains to all tanks and also close all faucets.
- Remove the drain plug from the hot water heater. Replace the drain plug once the water heater is empty.
Step 2. Adding the Anti-freeze
There are two methods to add anti-freeze to the water system:
Method 1. Uses pressure from the RV’s water pump to replace the water in the system’s water lines with antifreeze.
- Disconnect the water line connecting the freshwater pump and the water tank. Disconnect the line from the water tank only.
- Make sure all faucets are closed. This process will require six to nine gallons of antifreeze.
- Place the end that you disconnected from the water tank into the RV antifreeze. Make sure this line reaches all the way to the bottom the container. You may have to add an extension to the line to reach the bottom of the container.
- Next, use RV’s freshwater pump to distribute antifreeze throughout the RV’s plumbing system.
- When the pump stops running, the RV’s water system is pressurized with the antifreeze.
If the pump does not stop running after about a minute or two, it is likely there is a faucet or other valve open that needs to be closed.
With the system pressurized, open and close each faucet or valve—one at a time—to make sure all water has been removed from the system.
Method 2. This method used a small compressor to “blow” all moisture from the camper’s system
- Connect the water pump converter (Item 4 above) and follow the instructions that come with the pump converter.
- Use the compressor to blow water out of the lines and valves in the camper.
- Add antifreeze to the holding tanks (just enough to cover the bottoms of the tanks)
- Add anti-freeze to any valves and piping where water can collect (this should require no more than 3 gallons of antifreeze).
- Once the system has been treated with two or three gallons of antifreeze, close all faucets, replace all drain plug that have been removed.

How Much Will It Cost to Winterize my RV?
Most RV service centers will charge $100 to $175 (or more) to winterize your RV.
We estimate that you should be able to complete the winterization for less than $50 using the “water replacement” method.
First Time: Includes the cost of all of the accessories/tools* needed to complete the job plus three gallons of antifreeze. (All prices based on currently advertised average retail prices.)
Hot water bypass: $ 22.00*
Water Pump Convertor: $ 13.00*
Blow-out Pug: $ 10.00*
3-Gallon Compressor: $ 40.00*
Anti-freeze (3 gallons) $ 18.00
Mouse Shield (or Equivalent) $ 13.00
Ant/Roach Traps/Killer $ 10.00
Total First Time Material Costs: $126.00
*Note: $85.00 represents hardware and equipment that can be saved and reused.
Preventing Rodent and Insect Damage
- Rodents: Mice and rats can easily gnaw through the floor of a camper if it is not properly protected. To prevent rodent damage, use a product like “Mouse Shield.” It is a foam product dispensed from a pressurized can that soon hardens, providing a barrier that blocks and discourages rodents.
- The most common insects that can infest a camper are ants and cockroaches. As you prepare your RV for winter storage, place several commercially available roach and ant traps around the camper, usually at floor level.
Frequently Asked Questions
How long does it take to Winterize an RV?
Once you have all the materials and tools available it should take between two and four hours. It will go more quickly with experience.
What if I forgot to winterize my camper?
The most important thing to do is open up you camper after the danger of freeze has passed and several weeks before you plan to use the RV. Immediately hook up water to the system and check the operation of all faucets and valves and make sure the toilet flushes properly. Check under all sinks, tubs, shower, and the hot water heater to look for water leaks. Also check under the camper for any signs of leaks. On some campers, the one place most susceptible to freeze damage is the flush valve on the toilet.
Will RV holding tanks freeze?
The water in holding tanks will freeze. Depending on the amount of water in the tanks, it is possible the holding tanks could be damaged (cracked). That would involve a costly repair.
Do you put RV antifreeze in the freshwater tank?
If the freshwater tank is thoroughly drained so there is no water in it, you may not need antifreeze, however, to prevent any damage from water not drained from the tank, it is a good idea to add antifreeze—just enough to cover the bottom of the tank. In the spring, when opening the camper, fill and drain the freshwater tank to thoroughly rinse the antifreeze out of the tank.


