I posted the story of Little Fort Repose last night and then had a conversation with Heather via email about tiny house plumbing. Her questions hinge around how to adapt RV water storage tanks (potable, grey, black) to a tiny house. It then occurred to me that we might be able to shed some light on the topic by asking folks to share their tiny house plumbing experiences with us here in the comments of this post.
Have you tackled tiny house plumbing? Can you help point Heather (and other tiny house owner-builders) in the right direction? Thanks!
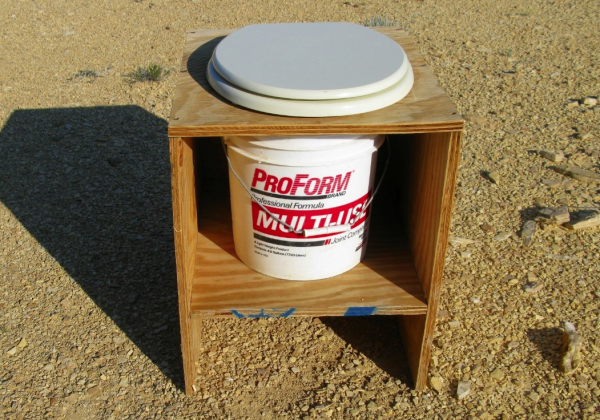
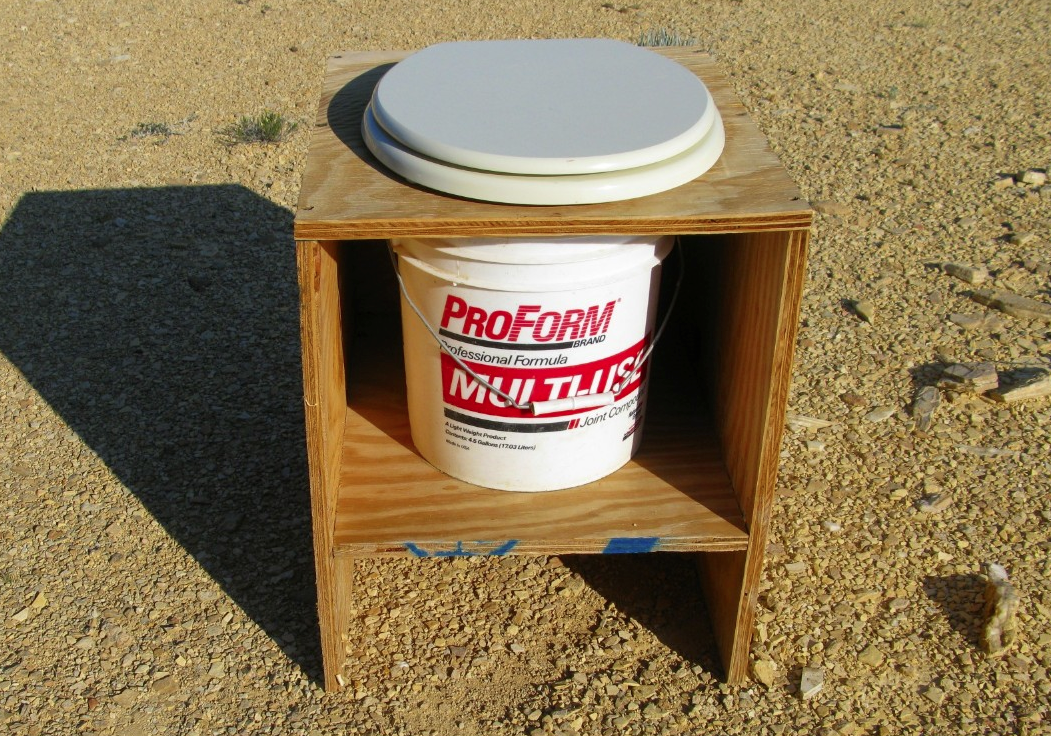
Photo credit to John Wells. It’s the facilities at The Field Lab.


I put up a couple of posts with pictures on how I did the plumbing in my tiny house. I had absolutely no serious plumbing experience (outside of removing hair clogs from drains) before this and kinda made it up as I went, but these posts show what I did:
http://gungy.livejournal.com/108300.html
http://gungy.livejournal.com/108632.html
I found the “Gatorbite” connections to be a Godsend. They were expensive, but they can be taken apart and reused. I would dry-fit my connections with the Gatorbite fittings, then go back and replace them with the much cheaper copper versions. Then my Gatorbites were free to use on the next connection! For someone like me who had no clear idea what he was doing, they were fantastic.
Thanks Jonathan!
I would think do to size constraints the most logical plumbing medium for a Tiny House would be PEXS.It is flexible, safe for potable water, safe for hot water, and easy to snake through at weird angles. It is also dead simple with no glue or soldering. Its pretty cost effective too. I was at a job site once for a regular sized single family and the plumber was raving about how much time it saved him to get the job done.
Personally i like it because it comes in several colors so you can color code what different tubes are for. That would be handy for a grey/black/potable water system.
My plan is to use recycled 55 gallon food containers, the type you usually have things like olives and feta cheese shipped in. They’re tough, food save and opaque. I can get them locally for about £7 ($12). Two of those will store rainwater from the roof/gutters and one will store grey water which will have some time to settle and then slow feed out to a soaker hose laid out around the tiny house.
They’re cheap, readily available and, when it’s time to move the house, can be drained out,. They’ll live in the plumbing/battery storage ‘shed’ that I’ll build on the back of the tiny house at the hitch end of the trailer.
I’ll use a 12v RV on demand pressure pump so that you just turn on a tap and water flows and a two stage particle/carbon filter to purify the water for drinking. I was donated a solar hot water panel for the roof which will be the primary water heater with a small, back-up, propane on demand heater for when the sun’s not shining much.
If I was in a more permanent place I’d use a 1000l IBC tank which can be picked up for about £50 ($75) but isn’t as small or portable.
I’m planning on a diy urine diverting sawdust toilet, with urine used for fertilizer (diluted) and the rest going to a compost heap.
Justin.
Pex is for supply, not drains. Also the “Gatorbite’s” mentioned earlier do work as permanent connections on the pex. These connectors are cheaper than the tool set up for a one off plumbing job. On drains, just use the DWV PVC intended for such, much lighter than schedule 40 and does the job very well. Just have to look into the standard connections at RV parks (a quick visit to such or to a local RV dealer with a cell phone camera should do it), someone at your plumbing supply house should be able to provide you what you need to mate them up with no problem.
There was a post, either here or on Kent’s Blog, I’ll try to find the link and add it to another comment, it had a very comprehensive guide to RV plumbing. So good in fact that I’m pretty sure I bookmarked it.
Good news, I did save it and I found it.http://www.ccis.com/home/mnemeth/plumbing/plumb.htm
My tiny house is going to sit next to an existing mobile home, so I am just going to run water and waste lines from it. Water and waste tanks add a good amount of complexity to a build so if they aren’t absolutely necessary I would consider external tanks like the ones suggested by Justin.
Also, I’m using CPVC for my supply lines and they work great. They’re somewhat flexible, can hand hot and cold, and go together in a snap. I’ve heard good things about the “Gatorbite’s” before but I’ve used a similar product before that failed on me. I didn’t want to take a chance with my tiny house since regaining access to the plumbing located behind the shower would be near impossible once everything is in place (I would have to either cut a hole in the shower or the exterior wall).
On my tiny trailer house (Michael Janzen’s 8×16 solar house plan), I used PEX tubing for the water supply, and Flair-it compression style joints. These were available at the local RV place. The PEX tubing I used is rated 180 PSI at 70 degrees and 100 PSI at 180 degrees. So, it can be used for both hot and cold water. It was available at the local home improvement store (Lowe’s) and cheaper than the RV store.
The PEX is rather stiff though, so you have to use elbow joints to turn corners and such. Still, the RV joints and connectors are much cheaper than the actual PEX ones. They just slip in the tubing, and then tighten down the compression fitting by hand.
For drainage, I bought a grey water tank from the RV store, and am using the ABS plastic pipes from the home improvement store. I also have a composting toilet, so only need the one grey water tank.
The RV plumbing article that David listed is a great help. As an added bonus, the author also has a two part article on 12 volt electrical systems as well. I have found this very helpful too, as I am beginning the installation of my electrical system this week.
I have been working on remodeling a 1973 Airstream travel trailer. I had to completely gut the interior so I am entirely replacing all of the plumbing with new work. I would like to share some observations about RV plumbing vs. normal residential plumbing with some comments about what could work for a tiny house. So here goes…
1.) Fresh water supply:
RV fresh water systems are typically designed to work with both a fresh water holding tank as well as a fresh water input when that is available. The holding tank in my Airstream is 40 gallons in size and is entirely under the floor. There is an input for filling the tank that is separate from the fresh water input for the system. The fresh water input has a garden hose type of connection. RV supply houses sell hoses that are rated for potable (drinkable) water. There is a 12volt on-demand pump that can pump water from the fresh water tank when there is no water supply to connect to with the hose. This pump typically has a manual on/off switch that the user turns off when they connect to a fresh water supply by hose. The pump typically acts as a one-way valve to keep water from the hose supply from getting back into the fresh water tank and flowing out the tank input. When the power connection to the pump is on and you turn on a faucet the pump senses the drop in pressure and turns on to supply water. RV systems typically have a pressure regulator on the hose input side to protect against uncertain pressure at RV parks. Systems typically have water filters of various types. Sometimes there is a filter on just the cold water tap in the kitchen sink. Extra care usually has to be taken to keep the fresh water tank and plumbing from freezing.
2.) Fresh water plumbing:
My old Airstream was originally plumbed with copper tubing. I am replacing it all with 1/2″ PEX tubing which is much easier to work with. I opted to go with the crimp type connectors for PEX. They are readily available – I got mine at Home Depot. They are also very cost effective. The fittings are typically brass. I decided to buy a serious crimping tool at Home Depot for about $99. It is also possible to rent the tool or to buy less expensive ones. I am doing other plumbing in my house too and I feel the investment was worthwhile. It is easy to trial fit things before crimping them too. One word of caution though and that is the crimping tool needs enough clearance to work so you do have to plan ahead a bit for that. It is possible to get different colors for hot and cold. You can also use colored tape that you can buy in the electrical department to do that.
3.) Drain plumbing:
Plumbing for sinks and showers can be pretty much the same as in a regular house. I am using 1-1/2″ black ABS pipe for my system. All of the traps under my sinks and shower are also ABS rather than metal ones. You want to make sure that the shower drain is protected from freezing if it is under the floor.
4.) Holding tanks:
RV’s usually have two separate holding tanks – one for black water and one for gray water. The reason for two is because in some camping situations you might be able to drain off some of the gray water. There is nothing fundamentally wrong with having just one holding tank though depending on what you are going to do with the contents. Some RV’s dump their tanks by gravity while other use a special type of pump called a macerator pump. These pumps can be built into your tiny house or they can be portable. They are typically 12volt pumps too. The advantage of using a pump is that they are capable of pumping the waste water through a garden hose for distances of up to 100 or more feet. They of course can also pump up hill.
5.) Toilets:
There are basically two types of toilets used in RV’s. One type is typically mounted directly above the holding tank and has a trap door sort of mechanism that drops waste directly from the toilet bowl into the tank when the toilet is flushed. The other type of toilet has some sort of pumping mechanism that allows the toilet to be remote from the holding tank. This second type is very common in the marine industry. There are models with manual or electric pumps and there are some that work by vacuum action. One distinct advantage of these types of toilets is that they can flush up hill. This means that your holding tank would not need to be lower than the toilet. There is most typically a water connection to the toilet to aid with the flushing process. One nice thing about RV toilets is that they usually use very little water.
5.) Drain pumps:
The marine industry in particular often has a situation where the holding tanks are remote from the actual fixtures that they drain. They are also sometimes above the fixture. There are special types of pumps that can be used to facilitate draining to a remote tank. They are often called shower or sump pumps. Some of them actually have automatic switches inside of them that will turn on when there is water present. Others require that a manual switch be activated.
6.) Hot water heating:
RV’s very typically have small tank type water heaters with a tank capacity of from 6 to 12 gallons. There is currently only water heater that is fully approved for use in RV’s that is a tank-less model. Tank types are available for propane, electric or both. The one tank-less model is much more expensive than the tank type. There is a large variety of smaller volume tank-less type water heaters available now days that I think would be great for a tiny house. I am intending to adapt one of them for my Airstream. I am likely going to mount it outside though to avoid some potential safety issues with the use of a tank-less type water heater in an RV.
I hope this information has been helpful. I would be willing to try to answer specific questions about the above information. I can be reached by email as follows:
[email protected]
When I build my tiny I will have all of the black water, gray water as close as possible, hot and cold supplies as close as possible. The shower, washing machine, and kitchen sink will all be close by and the refrigerator and stove will be apart. If the refrigerator has an ice machine in it, it to will be close to the cold water. And, if I have a dishwasher, it will be close to hot water.
Also, I will do some tricks like in this video:
http://www.youtube.com/watch?v=9gG5jmPj26s
I forgot there will be a gray water line setup also.
This is a great discussion but I notice that no one is talking about the biofilm that develops inside water pipes. Copper is not perfect and the copper levels of the water are above allowed for the first 12-18 months but the copper does help keep down some of the nasties of the biofilm. I LOVE how easy PEX is but when I built my last house I chose copper despite it’s cost. California either did or almost outlawed PEX because of carcinogenic compounds that leached into the water. I sure wish PEX were perfect or that something even better were made. I did hear that certain brands leached less than others. Maybe someone has a link to that info? It was about 5 years ago I was doing all my research.
I learned to sweat Copper Tubing together at age 10. PEX so far hasn’t lured me to change my ways. I used PVC, or ABS, or both, in combination a few times to make a sprinkler system. I think I could live with Iron Pipe to serve outside. I use 1/2″ copper to supply water, 1 1/2″ ABS to drain, and I haven’t thought about separating out greywater and blackwater, yet. I’d expect that everything except feces could be used to water grass or crops.
I have a tiny home that has 3 in PVC drain line that I am wanting to connect to black water holing tank, then attach a pump to that will pump the waster to the septic tank that is about 100 feet away and has a very small incline. Can someone point me in the right direction. We have thought about putting an rv adapter on drain coming out of the house and going with the flex drain line into the holding tank