How to Sanitize your RV Water Tank in 5 Easy Steps
Owning or renting an RV is a great way to take a vacation or travel, but it also comes with several responsibilities. One of the most important to watch out for is sanitizing an RV water tank.
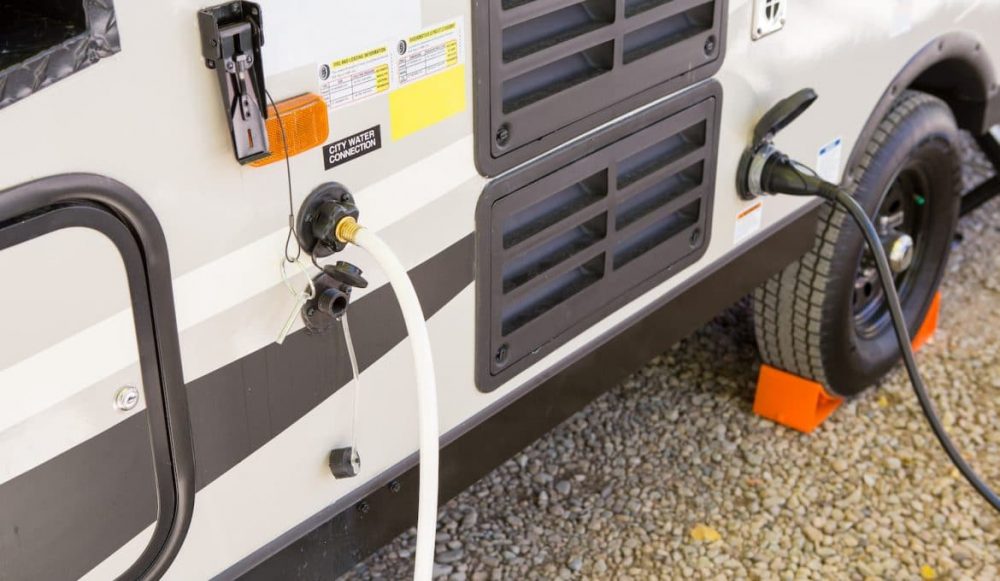 Source: ganderoutdoors.com
Introduction – Keeping Your RV’s Water Tank Clean
Being on the road in an RV means you’ll need to keep the RV clean and in proper working order. One of the essential aspects of this process is cleaning the RV water tank.
RVs are all-in-one travel and living units. This design means you’ll be using the water in the RV for cooking, cleaning, and drinking, so clean water is a must.
The Benefits of Sanitizing Your Water Tank
Because you’ll rely on the water tank in your RV for so much, it’s a must to keep it thoroughly sanitized while on the road and driving it. This process is one you have to do manually using either a cleanser or mixture and running it through the system using the steps below.
RVs have water filters, but they only catch filter debris; they don’t cleanse the water.
Signs that You Should Sanitize Your Water Tank
- If your water has an odor or you notice sediment and buildup in your water while using it, these are good signs that you need to sanitize your water tank.
- If your RV has slime or algae in its water tank, this is another obvious sign the water you might be using is unclean. If you see any of these signs, you should perform a thorough water tank sanitization immediately.
While you might think that RVs are naturally safe from these types of water cleanliness issues because of their filters, this isn’t the case. The RV’s water filter is only there to filter out larger debris or other foreign objects; it doesn’t clean the water.
How Often Should You Sanitize the Tank?
If your RV is in regular use, you should sanitize the tank at least twice a year. If your RV is typically in storage, you should sanitize both when you take your RV out of storage and before you return it. Also, sanitize the tank before and after lending or renting an RV.
If you have filled your RV with water that you found out is unhealthy or hazardous, or if it comes into contact with unclean water, you should take the time to sanitize. If you also notice a stale smell or sediment in your water, it’s also another sign to clean your tank.
Steps to Sanitize Your RV’s Water Tank
While sanitizing your RV’s water tank is an important task, the good news is that it’s also a simple and straightforward one with only a limited amount of time required in terms of hands-on work from you. The rest of the process is allowing the cleanser to sit in the tank to ensure it’s clean.
With this bleach measured out, dilute it in water. Use at least a gallon for this step. After making this diluted mixture, use your funnel to pour it into the RV’s freshwater tank.
You can also use other cleansers if you prefer not to use bleach. A white vinegar solution, for example, is another very effective cleaning method. For this process, use a 1:1 ratio of white vinegar to the water.
A good way to check that the water is moving through the whole freshwater system in your RV is to turn on each of your faucets. If water comes out, you’ve filled the system properly.
Turn on the taps to gauge how much cleanser is still in the water; you should be able to smell any remaining bleach or cleaner. Refill and rerun the water until you can no longer smell any product.
What You Need to Sanitize the Tank
If you use the bleach method to sanitize your water tank, all you need are bleach, a measuring cup, and a funnel to transfer the bleach into the RV tank.
If you prefer a non-bleach method to sanitize your tank, you will need a winterizing solution, which many RV manufacturers make using their own formulas. If you don’t want to use a pre-made mix or don’t want to buy this product, you can also use baking soda and vinegar.
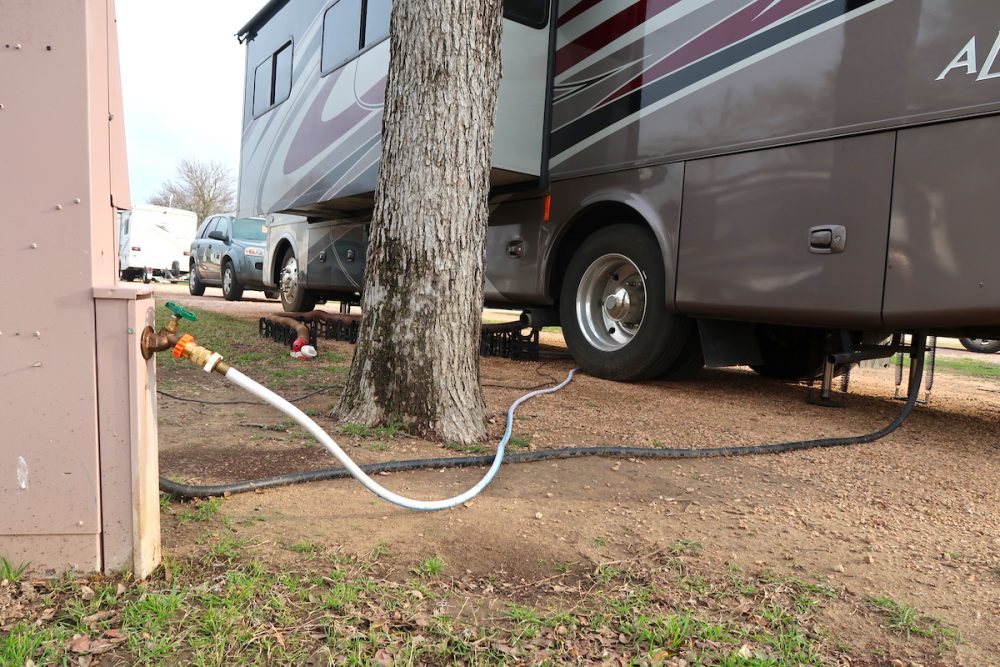 Source: campanda.com
Where to Clean the Water Tank
Take care to avoid sanitizing your RV tank in an area where plants grow as the mixture could affect or prevent vegetation in the area. Also, ensure you don’t complete this process near a body of water.
How Much Time Will it Take to Sanitize the Tank?
It takes about 12 hours to sanitize an RV tank. The bleach or cleaning product of your choice should sit in the RV tank for 12 hours, which leaves enough time to ensure that everything is properly sanitized and ready for new water.
Bottom Line – Clean Water is Healthy Water
When you are on the road in an RV, you will not always have an option to stop right away and change your water if you find out your supply is contaminated or unclean. That’s why you need to take care to sanitize your RV water tank regularly. Clean water is healthy water.